
The Back Story...
Remember months ago when I discussed "The Great Coat Sew-along"? Yeah, way back then. Well, I finally made a coat. BUT, there have been some changes. Do you also remember when I bought THIS fabric? I know y'all thought it was for the Michael Kors peacoat. Isn't it a woman's prerogative to change her mind? Of course it is! I'm such a joiner that I had to join the coat sew-along and reluctantly selected two coats because I had to make a decision. I knew way back in the Spring that those would probably not be the coats I would make. When the new Vogue patterns came out, I saw the coat that would be perfect for my bright-colored coating fabric!
Project Details
Pattern: Vogue 8548
Fabric: Wool Coating (100% wool) from Denver Fabrics
Lining: Charmeuse (100% polyester) from Denver Fabrics
Notions: Two 1 1/2" buttons and six snaps
Description: Lined coats A, B, C in two lengths have bodice with princess seams, A-line skirt, closure variations and sleeves in two lengths. A, B: topstitching. B, C: cording button loops. B, C: length is 2" above mid-knee.

According to the flat pattern measurement, I cut the size 14 and did my usual 1" FBA. I also added 1" the skirt and 1" to the sleeve . I used view B and the shorter sleeves from view A.
While making this coat, I seldom referred to the Vogue Pattern instructions (I'll get to why). I used my own reference material in constructing this coat: Tailoring: The Classic Guide to Sewing the Perfect Jacket, Jackets for Real People and Easy Guide to Sewing Linings.
While making this coat, I seldom referred to the Vogue Pattern instructions (I'll get to why). I used my own reference material in constructing this coat: Tailoring: The Classic Guide to Sewing the Perfect Jacket, Jackets for Real People and Easy Guide to Sewing Linings.
Sidenote: Now, don't hate me for not having all of the detailed construction shots you all have grown accustomed to. I worked on this coat last week and I had a terrible cold and I was just not in the mood for all of that. I'll be working on another coat in the that *should* be finished before Christmas (a gift to myself, LOL) and I PROMISE to take all of the detailed pictures for you.
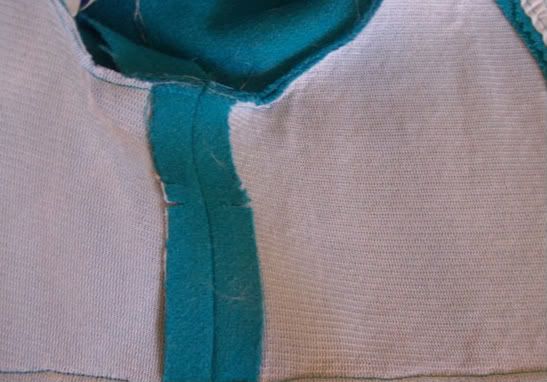
- Inside the coat: I had plan to use hair canvas interfacing, but when I tested it with my coating, it felt too stiff... the funnel neck would have felt like cardboard. Instead, I used a fusible 100% cotton woven that I lucked up on at Hancock. I fused the entire bodice. For the back, I followed the instructions in both Tailoring and JFRP and created a back stay made from 100% cotton muslin. This was my first time doing this and I had already put the stay in when I realized that the back bodice need to be topstitched.
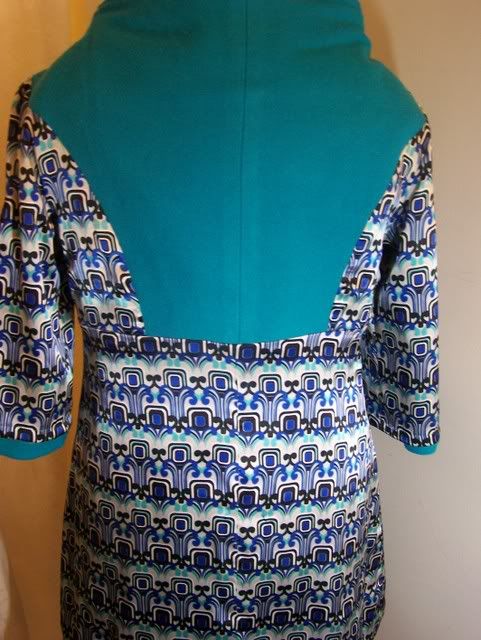
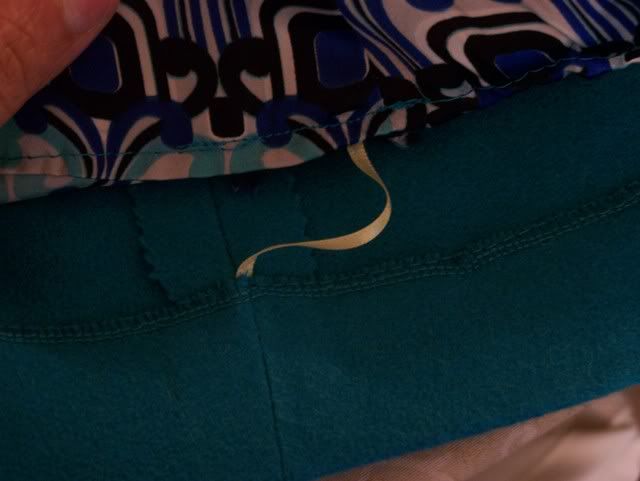
- The lining: Okay... this is the part that I had issue with the Vogue instructions. The instructions would have you construct the bodice lining and attach it to the bodice. THEN you would construct the skirt portion lining and SLIPSTITCH it to the bodice! Why not just bag the lining??? Well, I following the instructions in Easy Guide to Sewing Linings and bagged it perfectly. PLEASE, if you decide to make this coat, it's much easier to bag the lining than all of the extra handsewing that this "Very Easy Vogue" pattern would have you do. Another intersting thing about this pattern is that the front and back bodice facings are sewn with the fabric instead of the lining... see here.
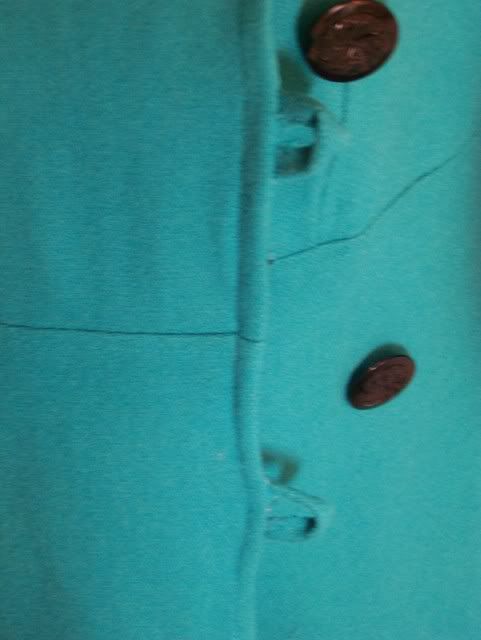
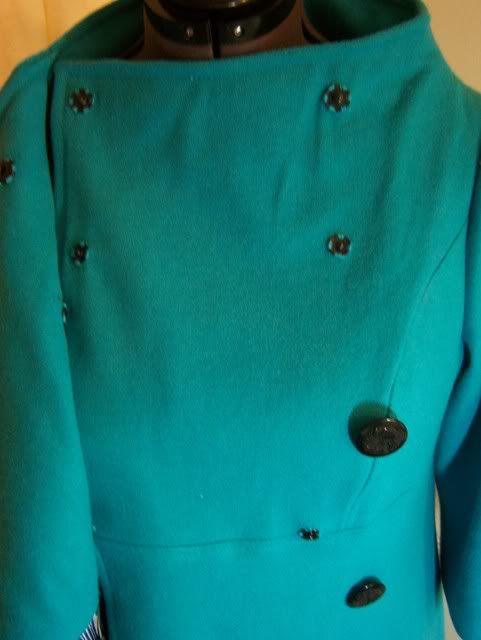
- Finishing touches: The instructions suggested cording for button loops. Ummm... no! I used self-fabric loops for mine. I also added extra snaps. The instructions suggested only two large ones. The placement of those would not keep the front part of the funnel neck standing. Here is where I added the extra ones. They also eliminated gaping at the waist in between the two large buttons. Also, according the the Tailoring book, I added interface to the hemline to stabilize it. And since my coat has a free-hanging lining, I used quick tacks to secure the lining hem to the coat hem. Another method is French tacks. I didn't feel proficient enough to make those work, but I'll give them another try in my next coat. Also, as a last minute adjustment, I felt the coat needed shoulder pads even though this is the one thing that the instructions failed to list. Since I wanted to be done, I bought a set of the el-cheapo ones from Hancock that are really thin, but enough for what needed. One thing I didn't do that I will go back and do is add a weight to the mitered corner. I was looking at my picture and realized that the it's needed so that the hem will hang properly. The coat was finished with topstitching.
Hottest coat ever-- you look amazing! I was waffling on buying this pattern, and now I'm definitely going for it. Thanks for all the tips, too!
ReplyDelete