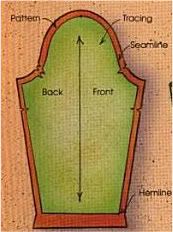
 This is a "symmetrical" one-piece sleeve which you probably see a lot. This is my LEAST FAVORITE draft for a jacket -- especially one that is "supposed" to be tailored. I find this draft to be disappointing. Let's face it, our arms just don't hang straight and stiff.
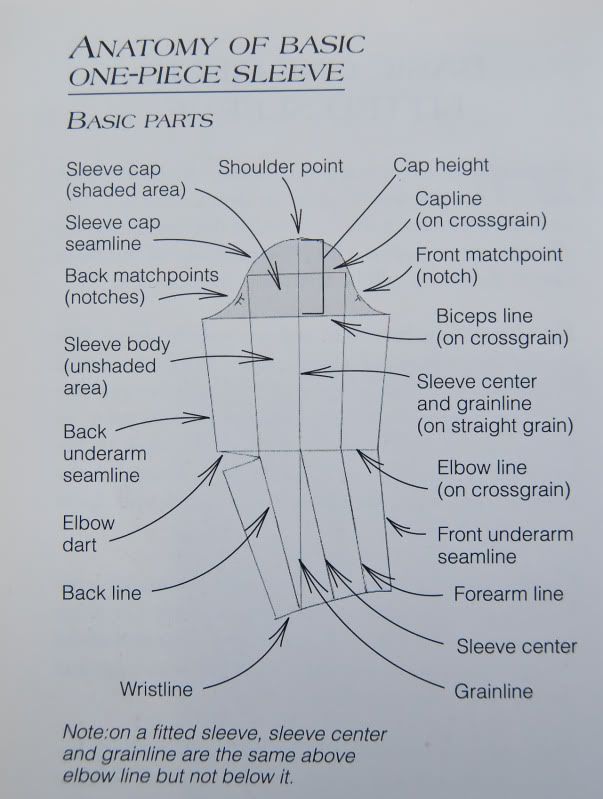 Now this one-piece sleeve is slightly different. I've actually made a tailored jacket with a sleeve like this one. You'll notice that there is an elbow dart which "shapes the fitted sleeve to follow the curve of the arm and provides fullness to allow for bending the elbow." (Shaeffer, Claire. Couture Sewing Techniques.)
The two-piece sleeve has seams which appear at both the front and the back of the arm. The under section of the sleeve will actually be a tad bit smaller than the upper part of the sleeve. This will make the seam appear less noticeable on the finished garment. The seams of the two-piece sleeve also fall slightly off center from the front and back of the arm. With the seams falling in the offset places, they are then less apparent when the apparel is worn. This strategic placement of the seams allows for greater range of motion.
In my opinion, the two-piece sleeve is the BEST option (for ME) for jackets and coats because it gives a more tailored appearance.
I'm currently working on a jacket now. The pattern only offered a one-piece. And the look that I am going for is nice tailored sleeves with a vent. I thought for a split second to try and convert the one-piece. That seemed really, really daunting to me. So I ended up jacking a sleeve from another pattern that I liked.
Do YOU have a preference on jacket and coat sleeves?
 for Beginners
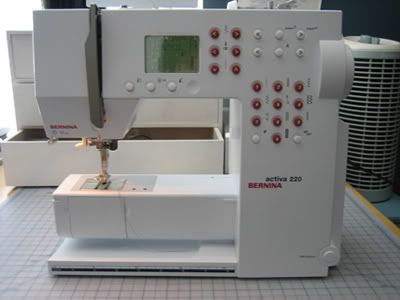
I get asked 2 - 3 times a week via email to offer up opinion or give advice on what machine a beginner should get. Sewing machines are very personal. It's almost like asking me what kind of bra you should buy. YOU have to decide what type of sewing you will do most. Do you want to make clothes? Home decor? Hem jeans? Heirloom sewing? Quilting? Lots of embroidery? And most of all, which machine fits your budget.
Some machines are more machine than you actually need. You can get one that does hundreds of decorative stitches. To be honest, since I primarily sew garments, I use maybe 5 stitches on my machine. My requirement on my machine was that it does nice buttonholes. IMO, buttonholes can make or break a garment. Also, I MUST HAVE a free arm (for sewing small circumferences such as cuffs). Some sewists have requirements that the machine must have good light. Well, I never even notice the light on mine because I use an Ott Lite. Others prefer a sturdy, heavy-weight machine. You have to decided whether you want a mechanical or a computerized machine. Some machines are sewing/embroidery combos... these can really be expensive. If you have no desire to do embroidery, then I would suggest not spending the extra money on a combo.
Here are my top 5 suggestions:

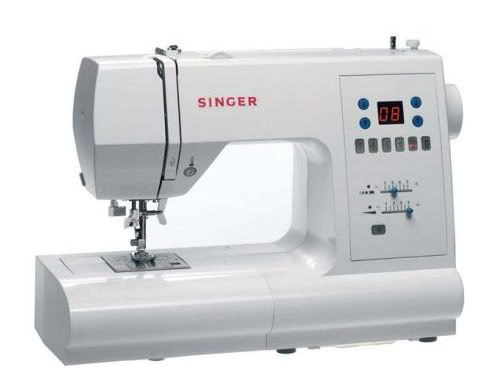
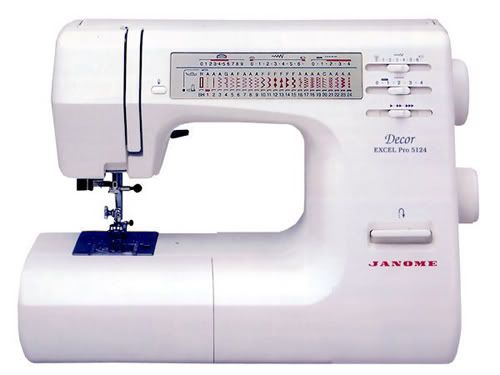
"This looks wonderful on you - both stylish and comfortable - a great combination. Would it be hard to do this without a serger?"No it would not be hard to sew without a serger. Since knits don't ravel, you wouldn't have to do a lot of finishing. It was just my preference to use the serger because it was a lot quicker.
Ease is the extra amount of fabric added to give a garment "style" and also so that you can move and sit. I used negative ease because this was a stretch garment and I wanted it to have a cling fit.
"What is negative ease?"
A FBA is a "Full Bust Adjustment". The full bust is measured across the fullest part of the bust. Pattern companies create patterns based on average sizes. They have come to the conclusion that the average woman has is a B cup. If you are larger than a the "norm" then you have to make an adjustment for that.
"What is a FBA?"
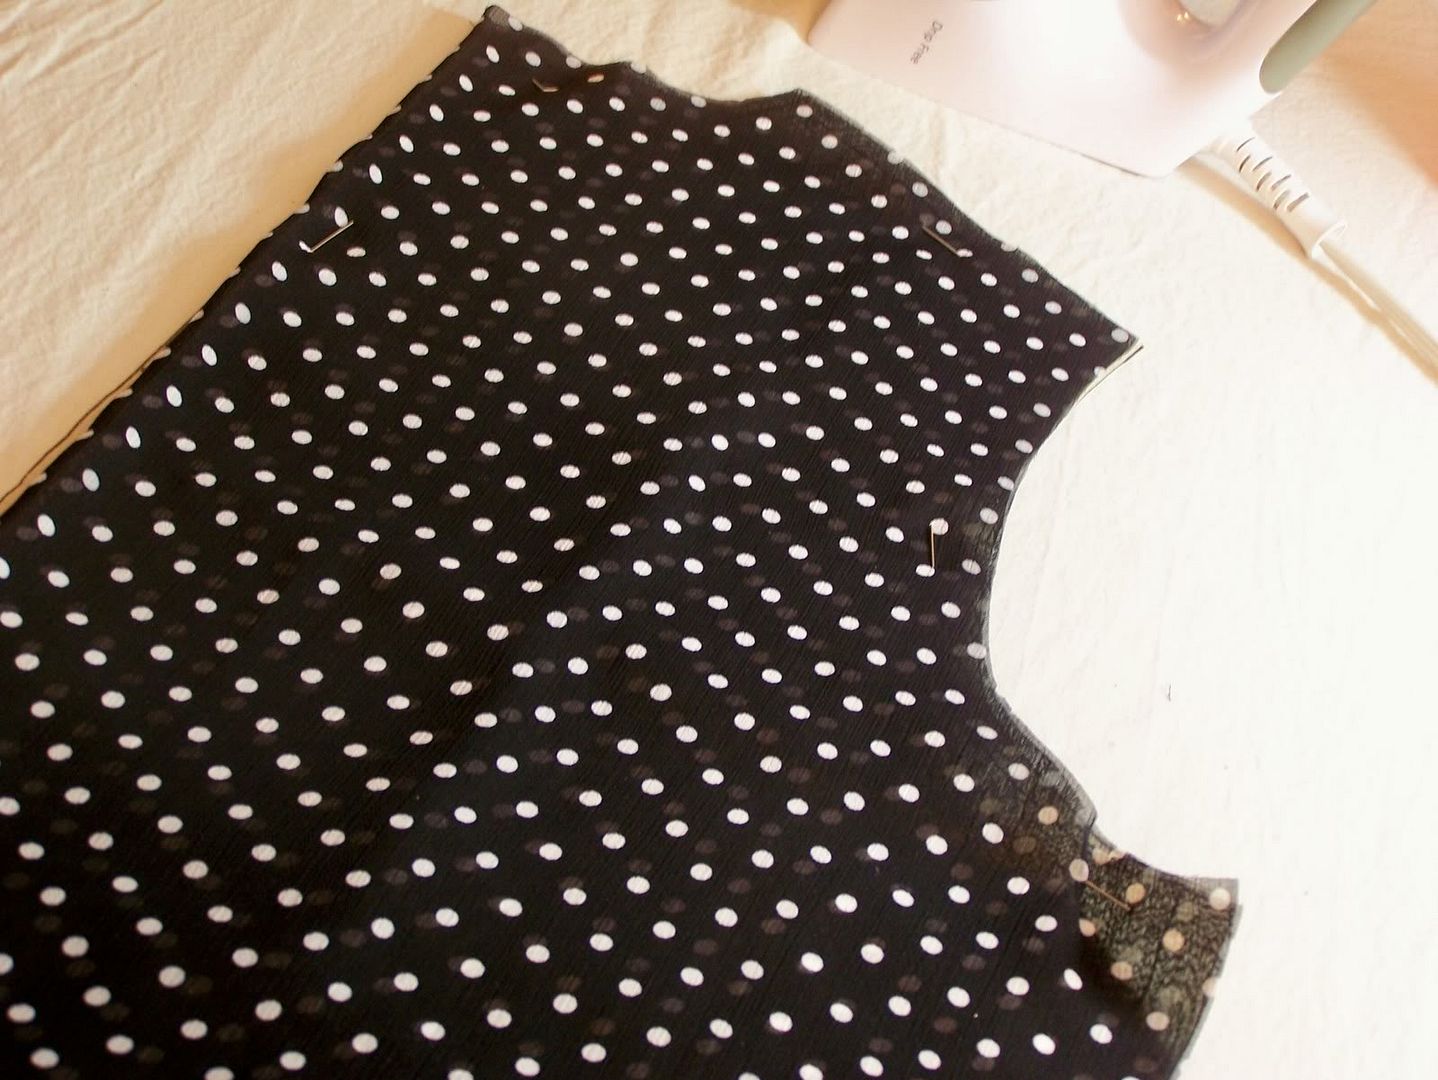 What I've found most challenging with chiffon and georgette is the laying-out process. Sheers are slippery and they tend to crawl about while you are trying to handle them. What I do is use an underlay. I do this by laying the sheer fabric on top of an old sheet or muslin fabric (anything you don't really care about) and cutting them together with a rotary cutter. The sheer fabric clings to the other fabric and makes cutting a lot easier. Also, misting with spray sizing or spray starch has worked for me too!
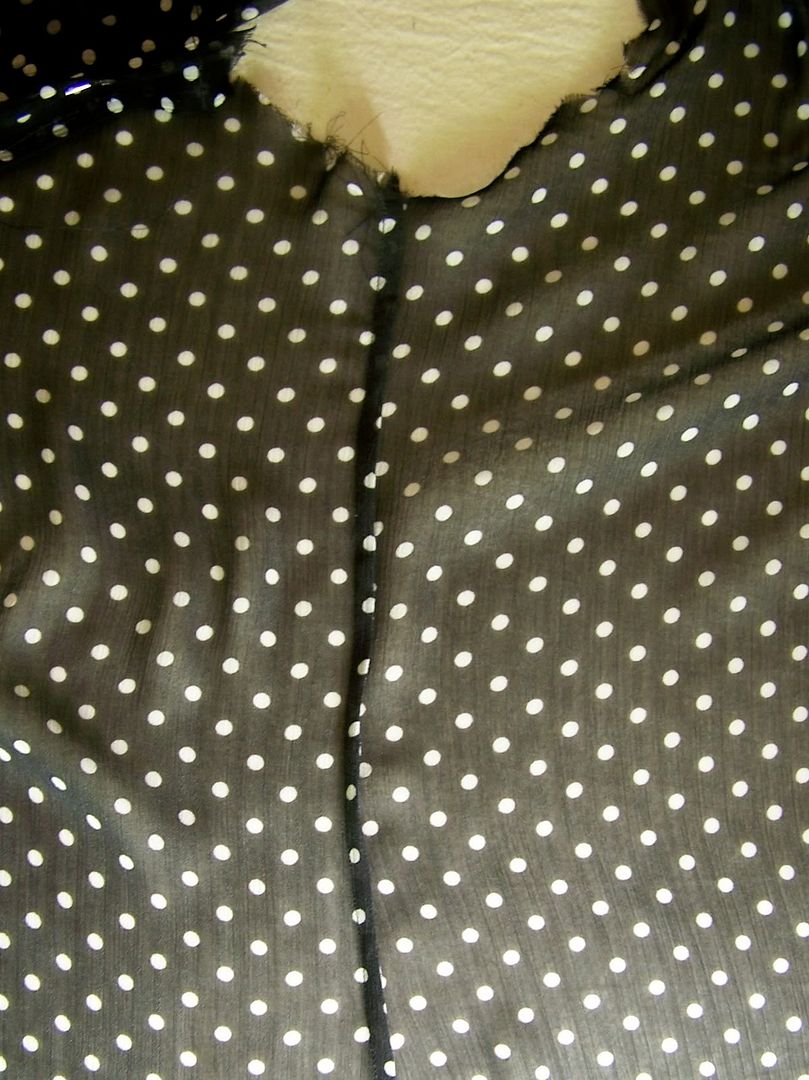 For my seams, I use a "scant" french seam. I do this by: (1) pinning WRONG sides together. Stitch 3/8" from the edges on the right side of the fabric. (2) Trim seam allowance to 1/16". Fold RIGHT sides together, with stitching line exactly on the fold. Press flat. (3) Stitch 1/8" from fold. This step encases the cut edges. Check the right side to be sure no raveled threads are showing. Press seam to one side.
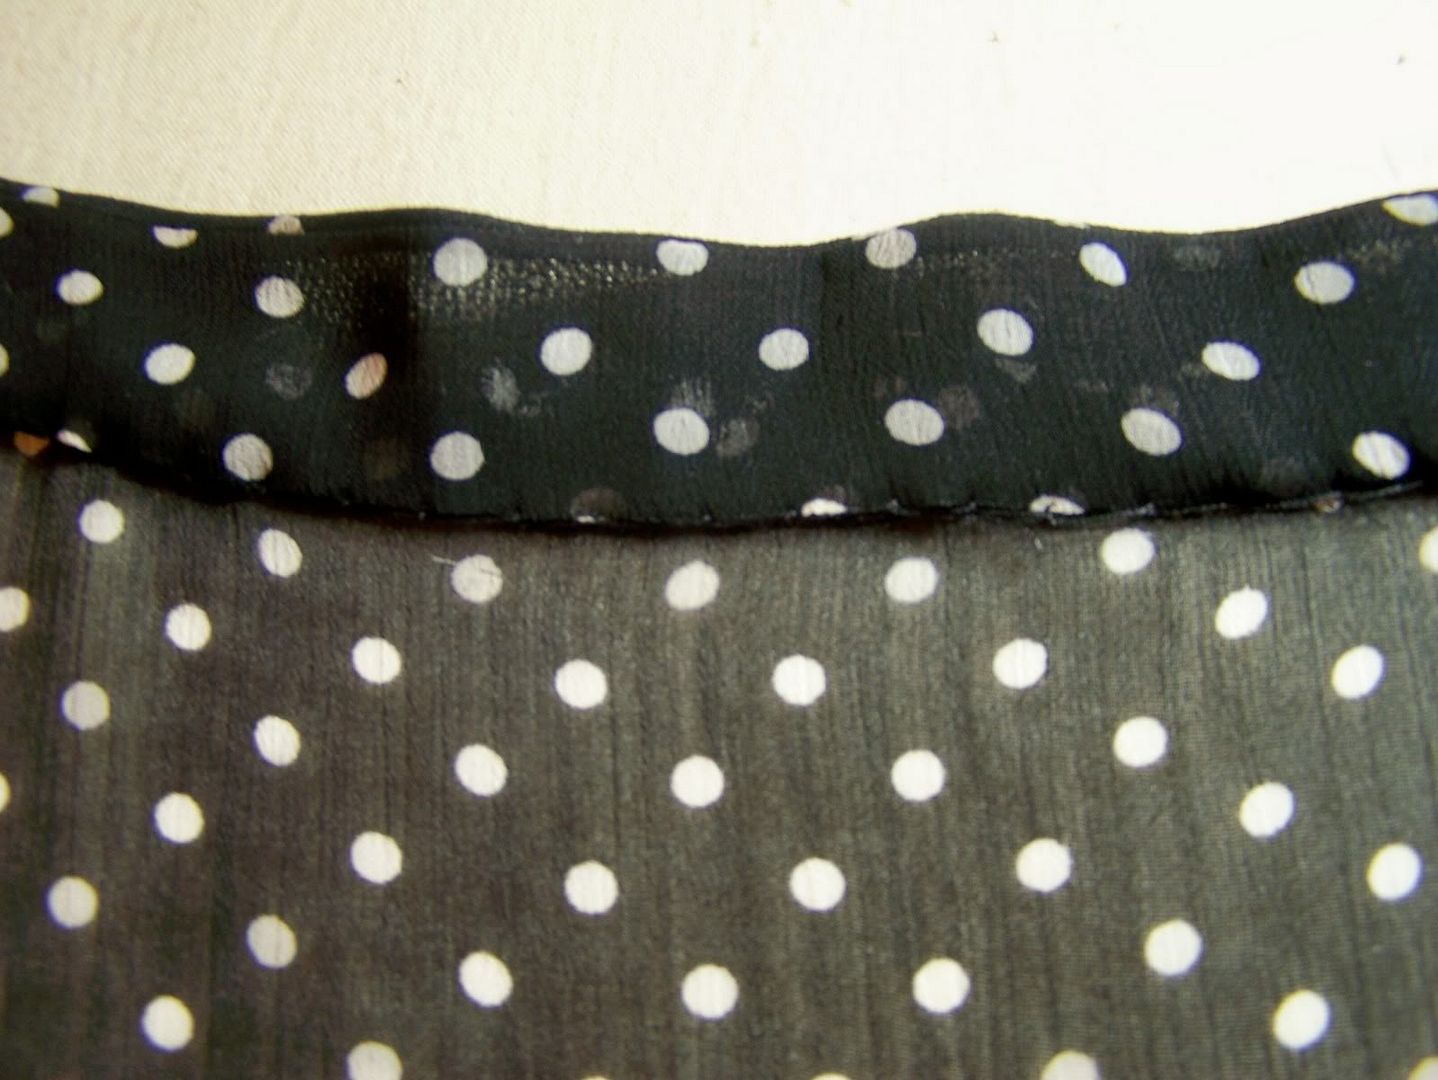 For the collar, I interfaced it with Palmer/Pletsch PerfectFuse Sheer in black. I stitched the facing to the collar with a 3/8" seam and pressed the other end of the facing under 3/8". I stitched the collar to the neck edge using a 3/8" seam allowance and trimmed the seam. I pressed the seam towards the collar and slipstitched the facing to the neck edge.
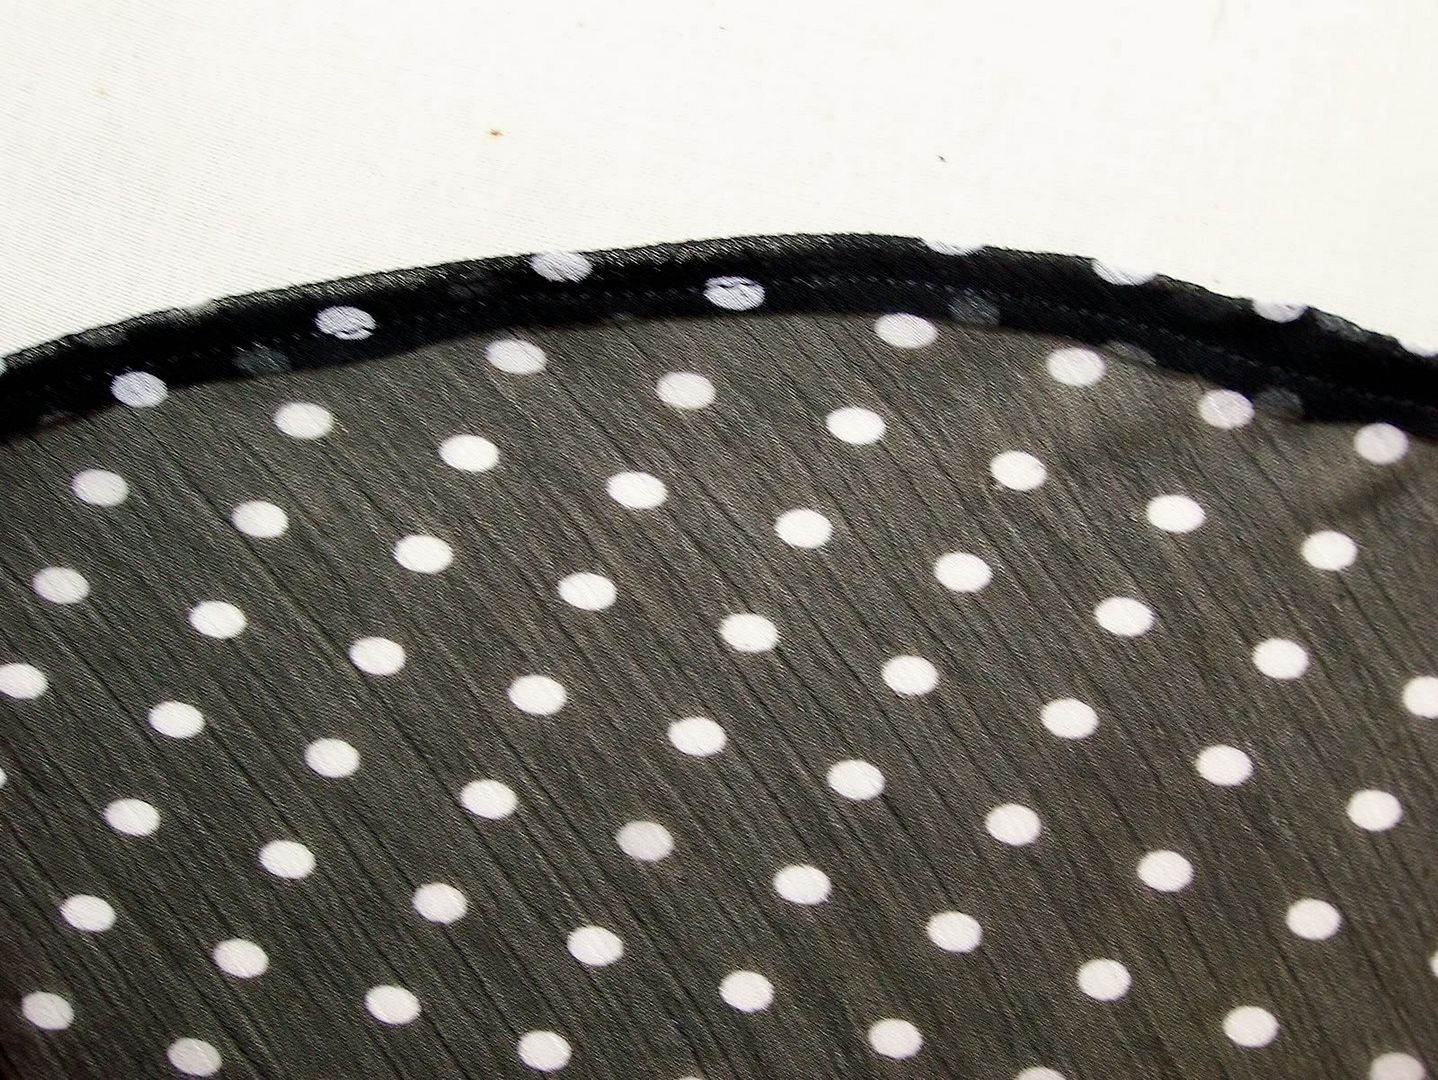 The sleeves are cut on the bias and for the hems, I used a narrow machine stitch. I did this by staystitching on the wrong side of the fabric - 1/4" from where the hem will be. Pressing the seam allowance toward the the inside along the staystitch line and sewing along the fold line to the left of the staystitch line. I took a pair of small, sharp scissors and trimmed the seam allowance close to the stitching (BE VERY CAREFUL NOT TO CUT INTO THE GARMENT FABRIC!!! Ask me how I know). I then folded the narrow hem toward the inside of the garment and stitched the final row to the left of the last stitching line. I used this method also for the hem of the garment.
BTW, this is Simplicity 4112... I'll have finished project pictures later.
I hope this helps those who have not or have been reluctant to sew with a sheer. This is what I do. If some of you more experienced sewers have better methods or something to add, please feel free.
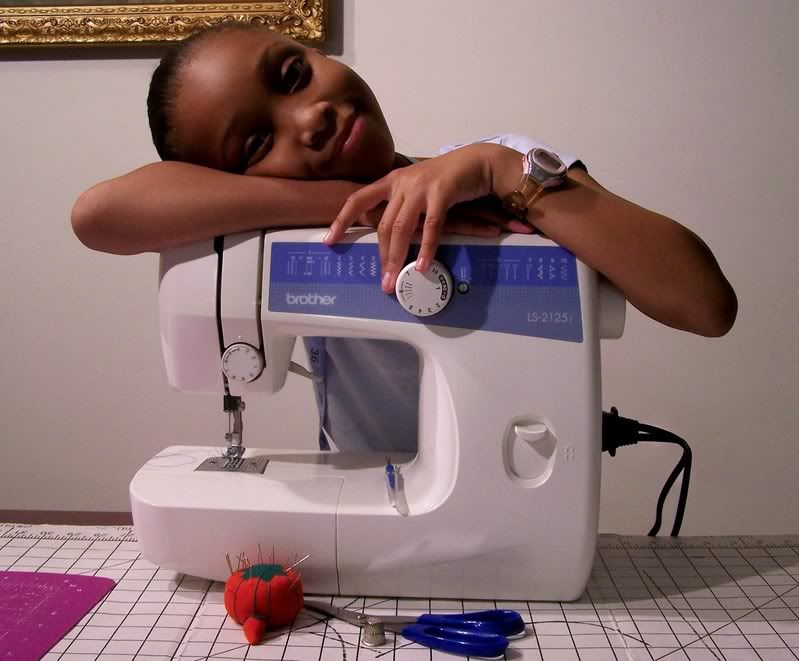 If you're wondering what I've been doing for the past few days, I put my own sewing aside to teach my little one - Mikaela to sew. She has been begging and begging for me to teach her and I promised that as soon as school was out we'd start lessons. Please believe she held me to it. Last week was the first official week of the kids being at home for the Summer and we began it by shopping for her a sewing machine. We ended up getting her an inexpensive simple Brother LS-2125i. She read the instruction book from cover to cover and was sewing a straight stitch by the next day. I don't know about y'all, but I think that's pretty dang good for a 9 year old!
By the next day, she was begging for fabric and a pattern. I did a little research to find something that I felt she could handle (with assistance from me). What better choice than the first thing I learned to sew -- an apron. I picked Simplicity 4692 (I made one too! LOL) and she picked the fabric.
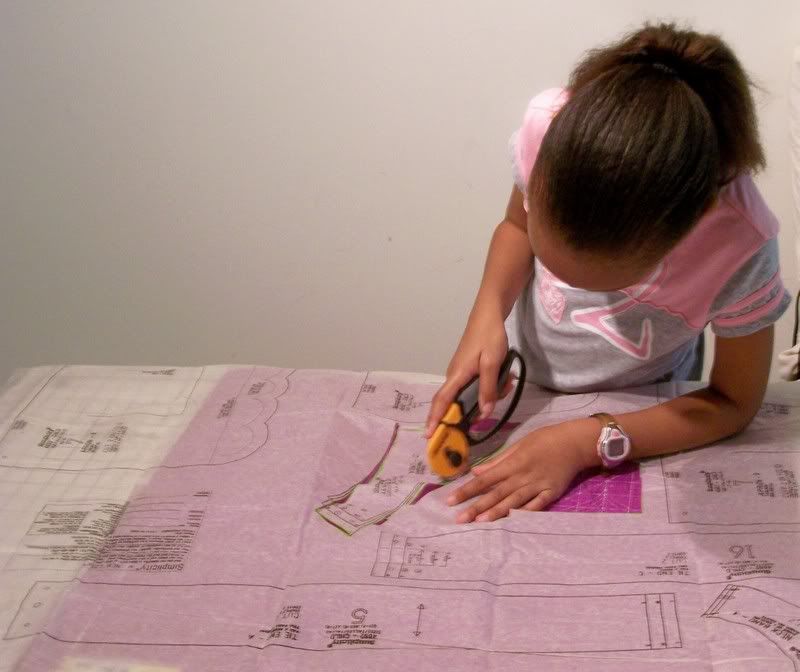

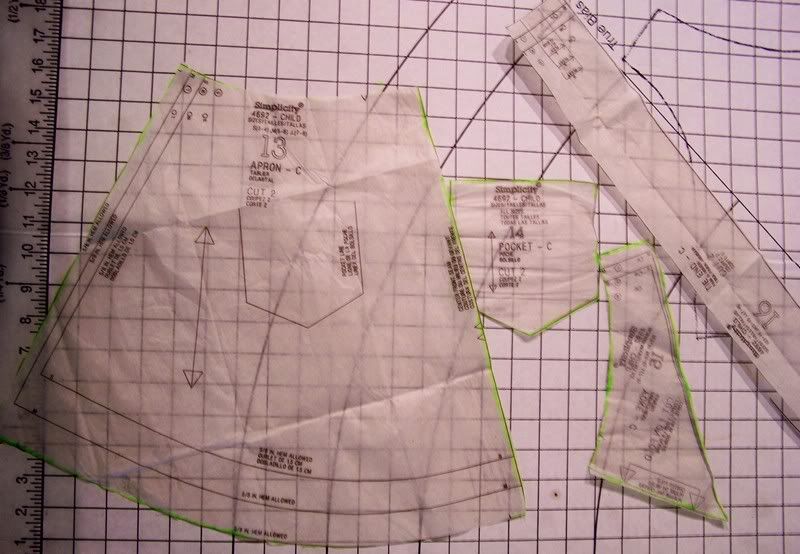 Since she has seen me lay out and cut a plenty of times, she was determined to do her own thing. I insisted that she use a highlighter to outline the pattern pieces before she cut them out.
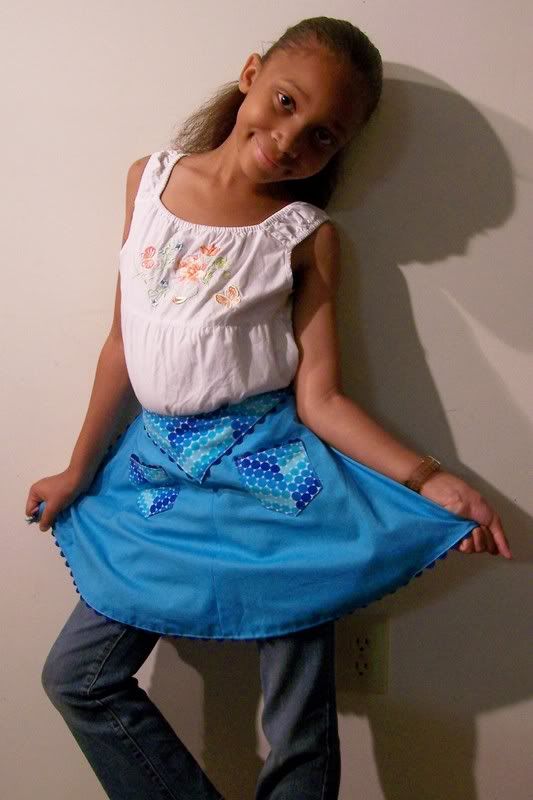 It took us around four hours to sew the apron. I did the serging for her (she is so not ready for that yet), and did all of the pinning. Since the apron is trimmed in rick-rack, she had to really take her time to stay in a straight line.
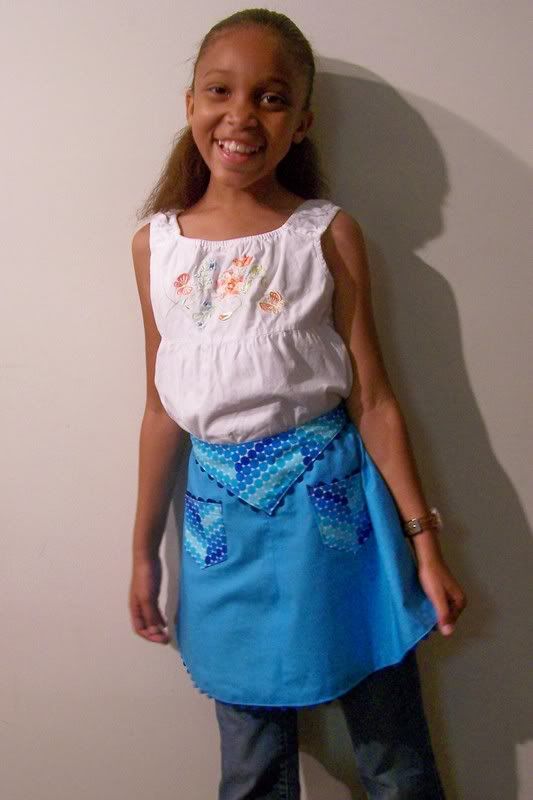 But as you can tell, she is thrilled with her first project!
 Introduction
Let's get started!
Tools of the trade
If you don't already have a machine available to you, you can purchase an inexpensive model (you can always upgrade later) from Wal*Mart, Hancock's or Joann's, etc... If you don't have a sewing room, fear not! All you need is a "dedicated space" where you have room to cut, iron and place your sewing machine.
Other essentials
* Pins
* Hand and sewing machine needles
* Chalk and/or disappearing marking pens
* Seam ripper
* Measuring tape
* Scissors and/or rotary cutter
* Bobbins (for your specific machine)
* Thread
* Pattern
* Iron and ironing board
 I would suggest this book -- "The Complete Photo Guide to Sewing" as reference material for any beginner. It has great color photos so that you can see exactly what it is that you're suppose to be doing.
Learning your machine
This is the reason I suggested purchasing an inexpensive model as a beginner. Too many bells and whistles will just add to your confusion. Learn the basics and then upgrade. Read your manual inside and out. Play with it! Learn all the stitch that it does. Learn how to make buttonholes. Some models now come with a learning video... watch it!
Size yourself up
If you already didn't know, your pattern size is COMPLETELY DIFFERENT from your ready-to-wear (RTW) size. This is why you have to take accurate measurements.
Grab a buddy and these items:
- A short, fine chain necklace -- to establish a natural neckline
- Washable markers -- to draw lines on skin and/or undergarments
- 1/4-inch adhesive dots
- Pins
- Narrow elastic -- to locate and mark the waistline
- Flexible but stable measuring tape
- 12-inch ruler
- A form-fitting T-shirt with set-in sleeves -- to help identify an armhole
- Twill tape/cotton cording -- for marking crotch length
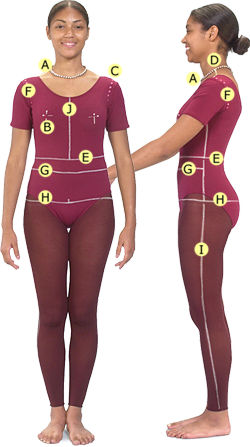 A. Neckline
Identify the natural neckline with a short chain necklace that settles comfortably, just below the slight hollow at the base of the neck.
• Mark the exact center front of this neckline with a small adhesive or pen dot.
• Mark the prominent vertebra at the top of the spine with an adhesive or pen dot. (Bend the head forward to make the vertebra easier to find.)
• Mark a point on each side of the neck, in line with the hollow just behind the earlobe.
B. Bust point
Mark the nipple location with a cross of two pins on the bra fabric or with an adhesive dot.
C. Shoulder point
Feel for the end of the flat bone at the end of the shoulder, or raise your arm until a dimple appears at the end of your shoulder and feel for the shoulder bone in this depression. It is important to identify an exact shoulder point.
• Mark it with an adhesive or pen dot.
D. Shoulder seamline
Draw a series of dots (more accurate than a drawn line) on the body, from the side-neck point marked on the neckline, along the top of the shoulder, to the shoulder point.
E. Waistline
Depending upon body proportions, there are two possible waistlines: a natural waist or, for people who do not have a naturally indented waist, a de facto (chosen) waist, where the top of skirts or trousers sits. Find the natural waist by tying a piece of elastic around the person's waist, and having her bend from side to side until the elastic settles comfortably in the hollow around the middle of her body; take the waist measurement here. If the person does not have an indented waist, adjust the elastic on her body to sit at the de facto waist. This often entails moving the elastic above or below the natural waist, sometimes to be higher at the back and lower at the front.
• Once established, mark the waistline on the body with a pen; the elastic can shift while measuring.
F. Armhole
Mark with a dotted line. Start from the shoulder point, down into the crease formed by the body joining the arm, on both the front and back. (If locating the armhole is difficult, duplicate one from a form-fitting T-shirt, slipping one hand under the sleeve to trace the seamline onto the body.)
G. Abdomen
Mark a line parallel to the floor across the fullest part of the abdomen.
H. Hips
Find the widest part of the lower body by wrapping a measuring tape around the hip area and sliding it down the body, note that the widest part may be anywhere from a few inches to more than 12 inches below the waist.
• Where the measurement is largest, mark a line exactly parallel to the floor all around the body.
I. Side seams
Draw a series of dots perpendicular to the floor from the underarm to the ankle on both sides of the body.
J. Center front and center back
Draw a series of dots perpendicular to the floor from the hollow of the neck to the waist. Repeat from the nape of the neck.
Shoulders
Shoulder length/left:___________ right:___________
Shoulder-to-shoulder/front:___________
Shoulder-to-shoulder/back:___________
Back width:___________
Front shoulder slope/left:___________ right:___________
Back shoulder slope/left:___________ right:___________
Neck to waist/front:___________
Neck to waist/back:___________
Arms
Arm length (over arm)/left:___________ right:___________
Biceps/upper arm circumference/left:___________ right:___________
Armhole depth/left:___________ right:___________
Bust
Bust circumference:___________
Upper bust circumference:___________
Under bust circumference:___________
Chest width:___________
Neck
Natural neckline:___________
Neck edge to bust point (bust depth)/left:___________ right:___________
Neck edge to waist/left:___________ right:___________
Legs
Outer seam/left:___________ right:___________
Inseam:___________
Waist to floor/front:___________
Waist to floor/back:___________
Crotch
Crotch length/total:___________
Crotch length/front:___________
Crotch length/back:___________
Crotch depth:___________
Waist and hips
Waist circumference:___________
Abdomen:___________
Abdomen depth:___________
Hip circumference:___________
Hip depth:___________
Fullest part of hip:___________
Fullest hip depth:___________
(courtesy of Taunton.com)
Pick a Pattern
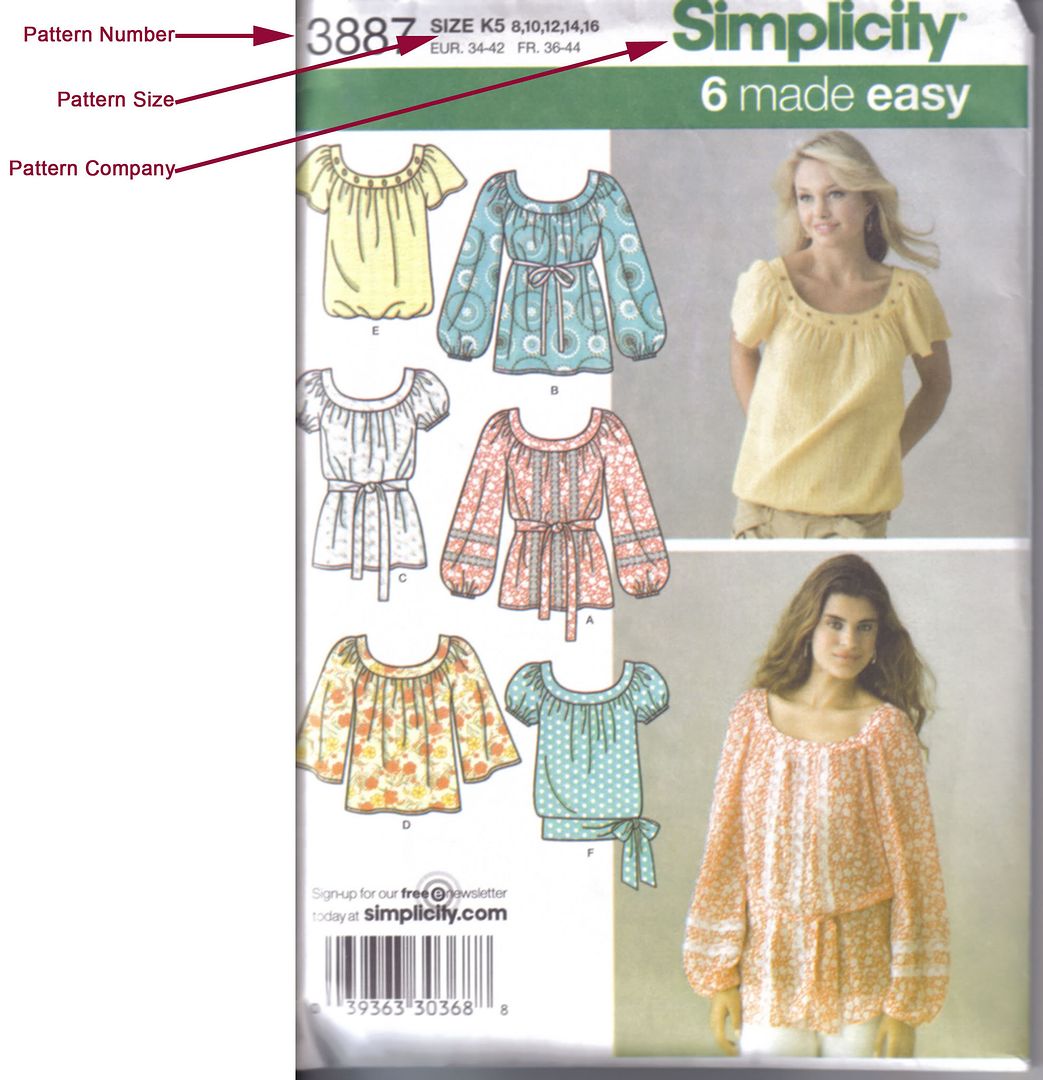

I started discussing fabric previously, but I'll delve deeper into it in the next installment.