
D.I.Y. Fashionista 101 - Part I
4:00 PM Introduction
Let's get started!
Tools of the trade
If you don't already have a machine available to you, you can purchase an inexpensive model (you can always upgrade later) from Wal*Mart, Hancock's or Joann's, etc... If you don't have a sewing room, fear not! All you need is a "dedicated space" where you have room to cut, iron and place your sewing machine.
Other essentials
* Pins
* Hand and sewing machine needles
* Chalk and/or disappearing marking pens
* Seam ripper
* Measuring tape
* Scissors and/or rotary cutter
* Bobbins (for your specific machine)
* Thread
* Pattern
* Iron and ironing board
 I would suggest this book -- "The Complete Photo Guide to Sewing" as reference material for any beginner. It has great color photos so that you can see exactly what it is that you're suppose to be doing.
Learning your machine
This is the reason I suggested purchasing an inexpensive model as a beginner. Too many bells and whistles will just add to your confusion. Learn the basics and then upgrade. Read your manual inside and out. Play with it! Learn all the stitch that it does. Learn how to make buttonholes. Some models now come with a learning video... watch it!
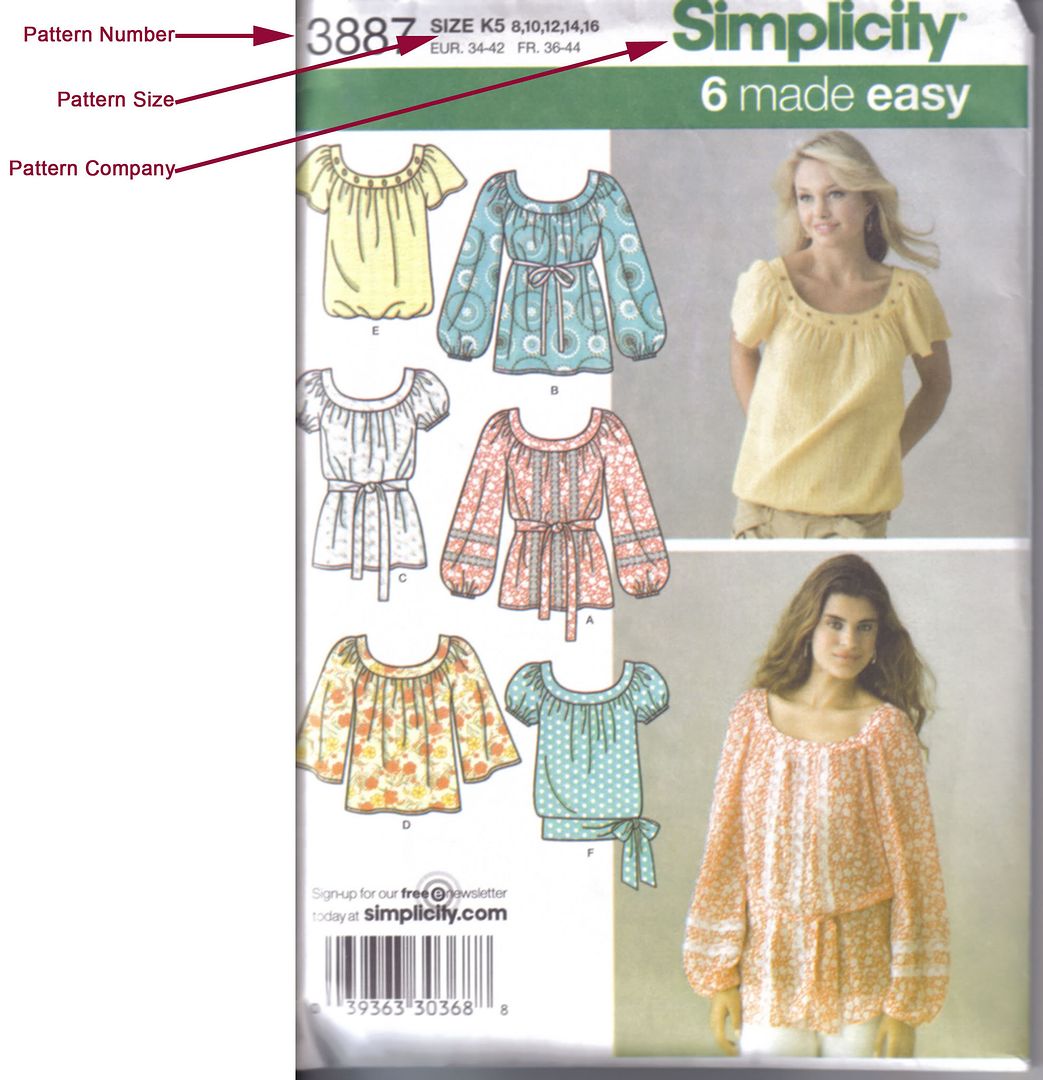
Size yourself up
If you already didn't know, your pattern size is COMPLETELY DIFFERENT from your ready-to-wear (RTW) size. This is why you have to take accurate measurements.
Grab a buddy and these items:
- A short, fine chain necklace -- to establish a natural neckline
- Washable markers -- to draw lines on skin and/or undergarments
- 1/4-inch adhesive dots
- Pins
- Narrow elastic -- to locate and mark the waistline
- Flexible but stable measuring tape
- 12-inch ruler
- A form-fitting T-shirt with set-in sleeves -- to help identify an armhole
- Twill tape/cotton cording -- for marking crotch length
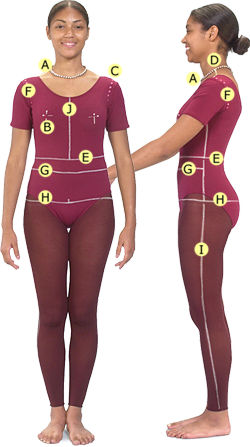 A. Neckline
Identify the natural neckline with a short chain necklace that settles comfortably, just below the slight hollow at the base of the neck.
• Mark the exact center front of this neckline with a small adhesive or pen dot.
• Mark the prominent vertebra at the top of the spine with an adhesive or pen dot. (Bend the head forward to make the vertebra easier to find.)
• Mark a point on each side of the neck, in line with the hollow just behind the earlobe.
B. Bust point
Mark the nipple location with a cross of two pins on the bra fabric or with an adhesive dot.
C. Shoulder point
Feel for the end of the flat bone at the end of the shoulder, or raise your arm until a dimple appears at the end of your shoulder and feel for the shoulder bone in this depression. It is important to identify an exact shoulder point.
• Mark it with an adhesive or pen dot.
D. Shoulder seamline
Draw a series of dots (more accurate than a drawn line) on the body, from the side-neck point marked on the neckline, along the top of the shoulder, to the shoulder point.
E. Waistline
Depending upon body proportions, there are two possible waistlines: a natural waist or, for people who do not have a naturally indented waist, a de facto (chosen) waist, where the top of skirts or trousers sits. Find the natural waist by tying a piece of elastic around the person's waist, and having her bend from side to side until the elastic settles comfortably in the hollow around the middle of her body; take the waist measurement here. If the person does not have an indented waist, adjust the elastic on her body to sit at the de facto waist. This often entails moving the elastic above or below the natural waist, sometimes to be higher at the back and lower at the front.
• Once established, mark the waistline on the body with a pen; the elastic can shift while measuring.
F. Armhole
Mark with a dotted line. Start from the shoulder point, down into the crease formed by the body joining the arm, on both the front and back. (If locating the armhole is difficult, duplicate one from a form-fitting T-shirt, slipping one hand under the sleeve to trace the seamline onto the body.)
G. Abdomen
Mark a line parallel to the floor across the fullest part of the abdomen.
H. Hips
Find the widest part of the lower body by wrapping a measuring tape around the hip area and sliding it down the body, note that the widest part may be anywhere from a few inches to more than 12 inches below the waist.
• Where the measurement is largest, mark a line exactly parallel to the floor all around the body.
I. Side seams
Draw a series of dots perpendicular to the floor from the underarm to the ankle on both sides of the body.
J. Center front and center back
Draw a series of dots perpendicular to the floor from the hollow of the neck to the waist. Repeat from the nape of the neck.
Shoulders
Shoulder length/left:___________ right:___________
Shoulder-to-shoulder/front:___________
Shoulder-to-shoulder/back:___________
Back width:___________
Front shoulder slope/left:___________ right:___________
Back shoulder slope/left:___________ right:___________
Neck to waist/front:___________
Neck to waist/back:___________
Arms
Arm length (over arm)/left:___________ right:___________
Biceps/upper arm circumference/left:___________ right:___________
Armhole depth/left:___________ right:___________
Bust
Bust circumference:___________
Upper bust circumference:___________
Under bust circumference:___________
Chest width:___________
Neck
Natural neckline:___________
Neck edge to bust point (bust depth)/left:___________ right:___________
Neck edge to waist/left:___________ right:___________
Legs
Outer seam/left:___________ right:___________
Inseam:___________
Waist to floor/front:___________
Waist to floor/back:___________
Crotch
Crotch length/total:___________
Crotch length/front:___________
Crotch length/back:___________
Crotch depth:___________
Waist and hips
Waist circumference:___________
Abdomen:___________
Abdomen depth:___________
Hip circumference:___________
Hip depth:___________
Fullest part of hip:___________
Fullest hip depth:___________
(courtesy of Taunton.com)
Pick a Pattern

I started discussing fabric previously, but I'll delve deeper into it in the next installment.


0 comments