
Vogue 8480 - The Freesia Trench Jacket
6:30 PM
Project Details
Pattern: Vogue 8480
Fabric: Silky Wool
Lining: Silk Charmeuse
Notions: Bias tape, chain, five - Dritz Cover Buttons (1 1/8"), five - 1/2" buttons, one - 1" button, Palmer/Pletsch PerfectFuse Medium Interfacing
Description: Unlined Lined jacket has front and back princess seams, pockets in side front seams extending into pleats, back lower section with pleat, cropped flared sleeve, self faced front, back yoke and topstitching detail.

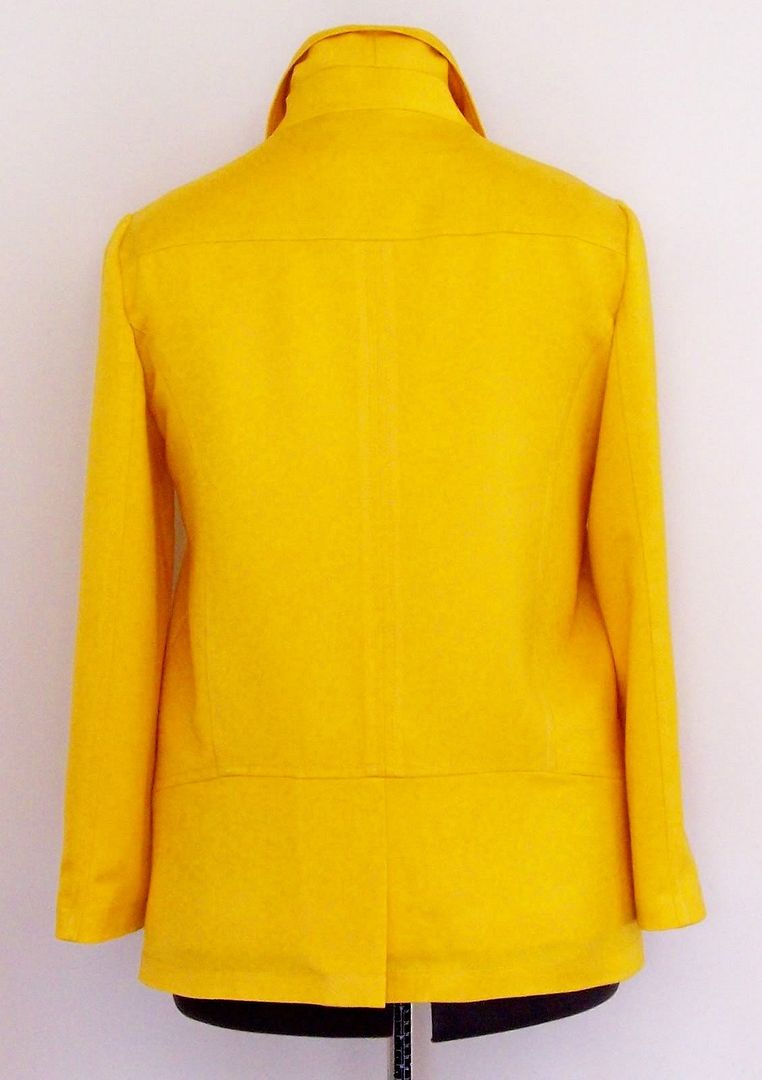
The instructions were very easy to follow and all of the pattern pieces were very well drafted. There was nothing that I disliked about this pattern. I really love the topstitched details, the pleating. The pockets could have been larger and deeper though.
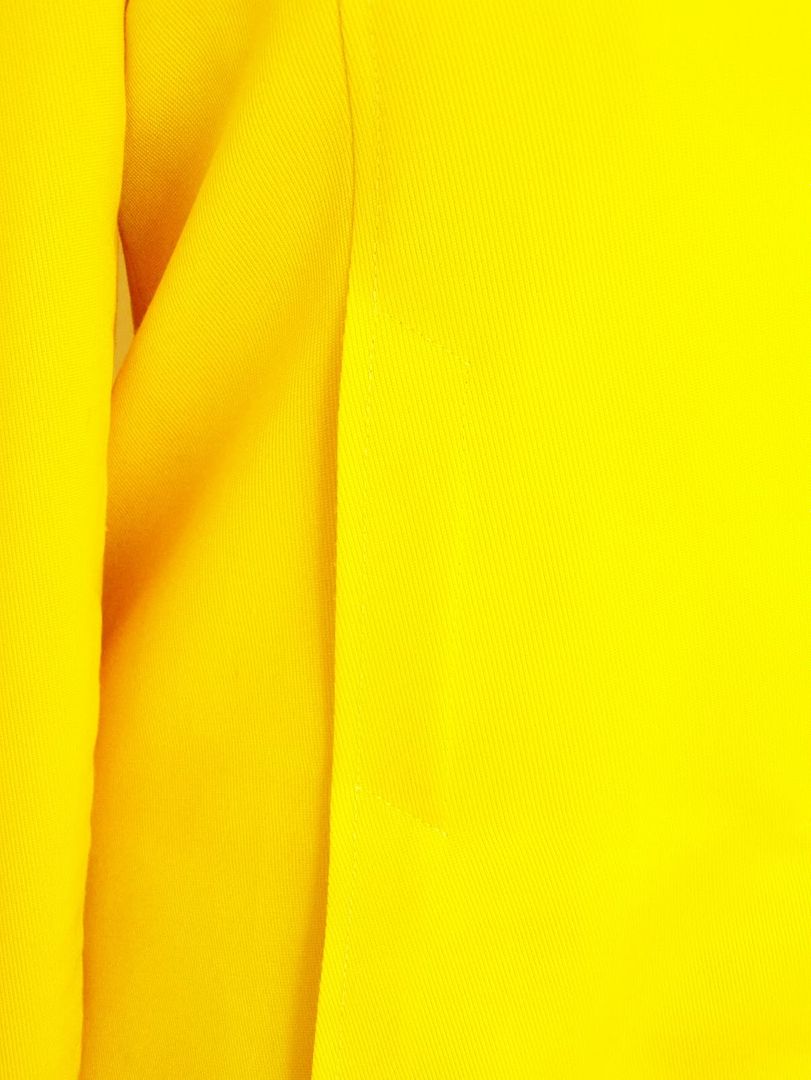
I was browsing in Hancock and discovered this fabric and it just happened to be the perfect color. When I saw this pattern, I knew right then that I would make it in one of the "happy" Spring colors and I knew it had to be bright... a standout color. This fabric was with the wools & wool blends and was on sale when they were. The label said, "100% silky wool". It feels wonderful and it has the texture of a twill.
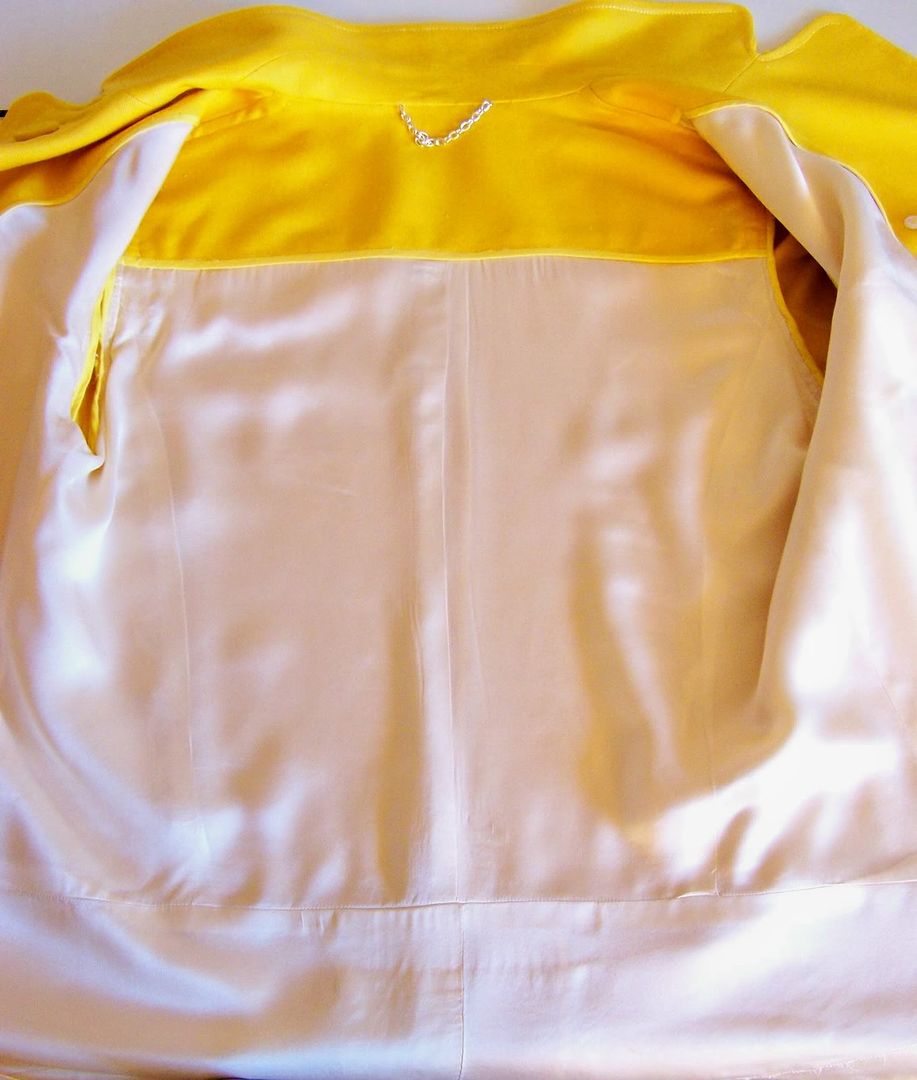
The Inside
The fabric was a bit lightweight for my jacket standards, so I decided to line it. I had leftover silk charmeuse from the Chanel project and decided to partially line... only the body and not the sleeves. For all of the exposed seams, I used a Hong Kong finish. And I added a hang chain.
Oh, almost forgot... I added 3 inches the body and the sleeves.
The Buttons and Buttonholes
I couldn't for the life of me find buttons that "did it for me". I did my usual and just covered them. All of the high-end RTW jackets I saw had bound buttonholes and of course mine would have them too. I used regular machine buttonholes on the facing. I also decided to use a button to hold the lapel down (just a design feature), since I'll never fastened it up to the neck. I reinforced the shank buttons on the facing side with the 1/2" flat buttons by stitching through both buttons.
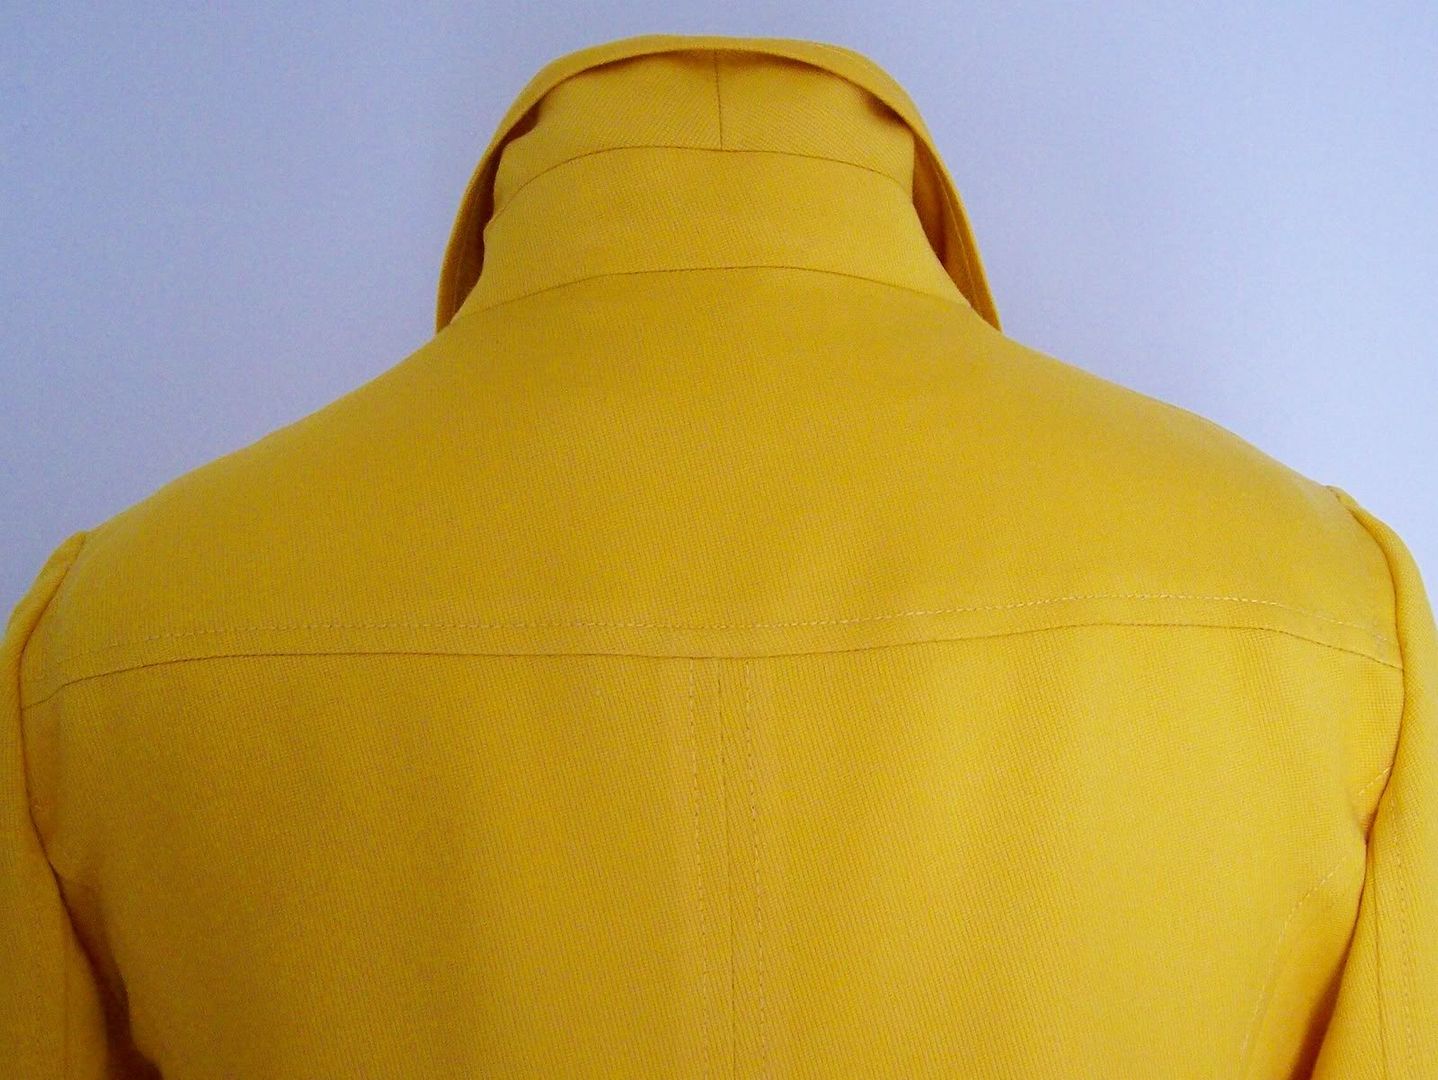
The Undercollar and Center Back Seam
The undercollar is traditionally cut on the bias in two pieces with a center back seam. This is essential to make the collar roll softly around your neck. This pattern has a full pattern piece. I folded the pattern piece in half and creased it at the center back. I opened it out and added a cutting line 5/8" from the crease. I cut along the line to create a new undercollar pattern and added a bias grain arrow so I would remember to cut it that way.
The instructions suggested that center back seam of the jacket is pressed to one side and topstitched 3/8" from the seam. I didn't like that at all... it lacked symmetry. I pressed the seam allowance open and created a welt seam which is a regular seam pressed open and topstitched from the right side on both sides of the seam.
All of the hems are 1 1/4" wide and interfaced. An interfaced hem adds weight and improves the way a garment hangs. Also, at the mitered corners, I inserted a penny into each one for additional weight so that the corners would hang correctly.
Even with the minor changes I made, I think it still looks like the pattern envelope.


0 comments