
Chanel Jacket: Update #1
1:30 AMNote: I am much further along than this, but I thought I should break the posts up
FBA on shoulder princess seams
I decided to post how I did this because most of the online tutorials focus on armhole princess seams.
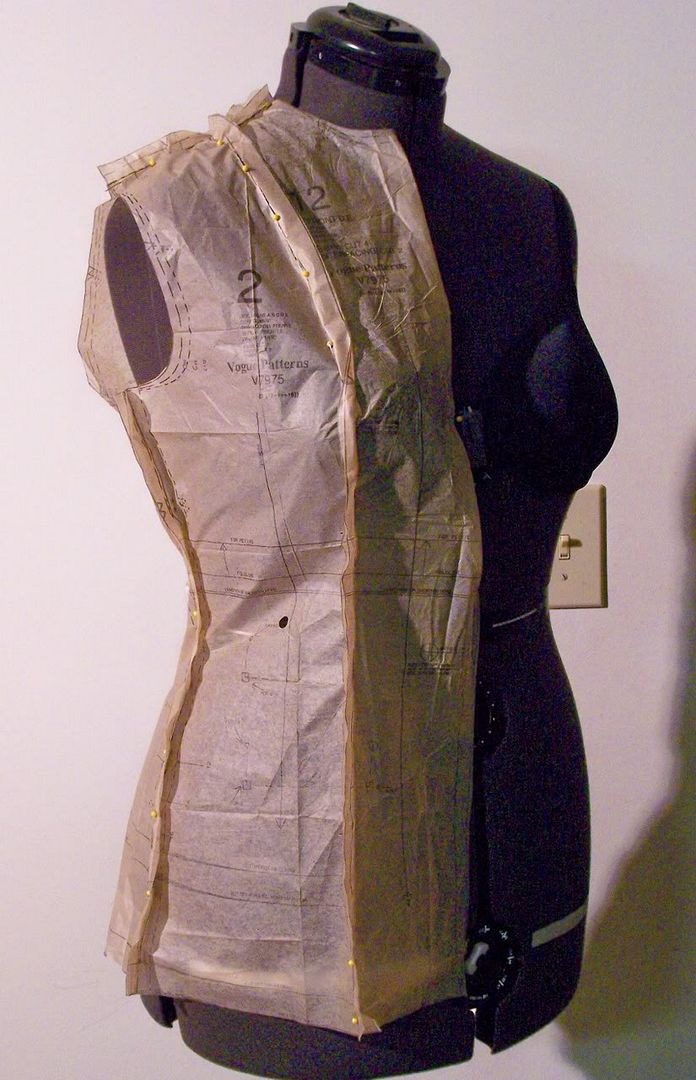 When I tissue fitted the pattern on my dressform (which is padded to my exact measurements), the pattern's center front did not meet the center front of the dressform.
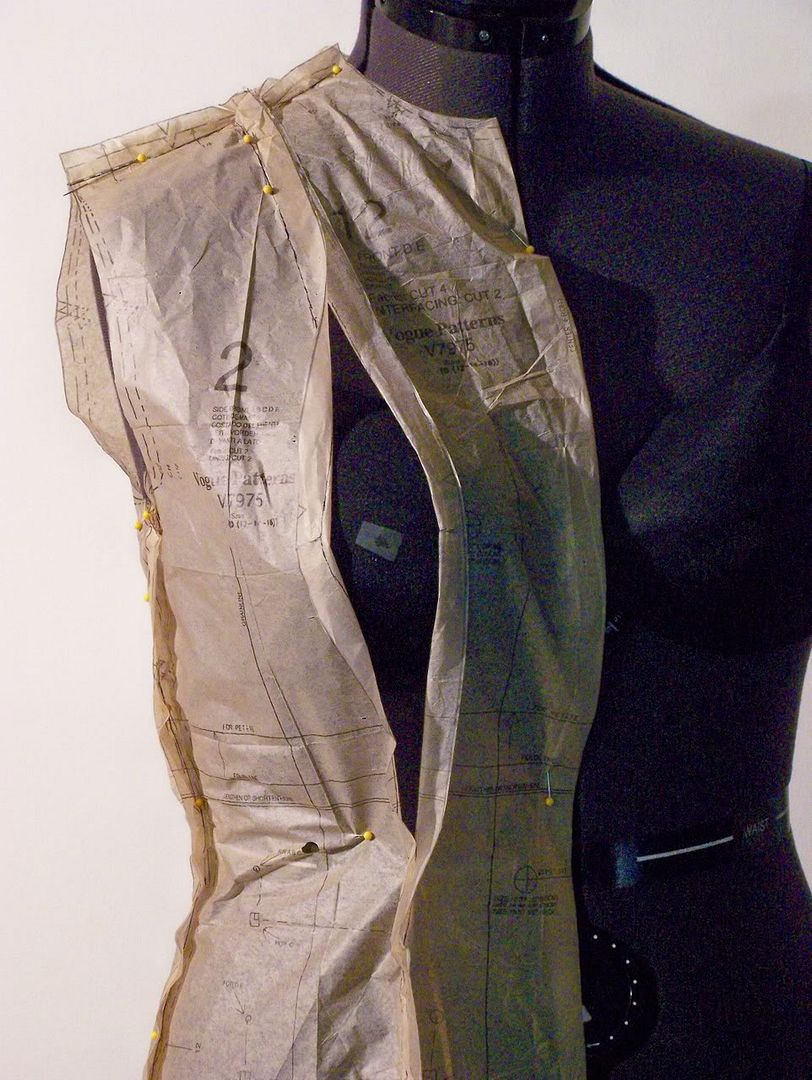 I unpinned the seamline in the bust area and pulled it over to line it up correctly. I determined that I would need to add 2" to the width.
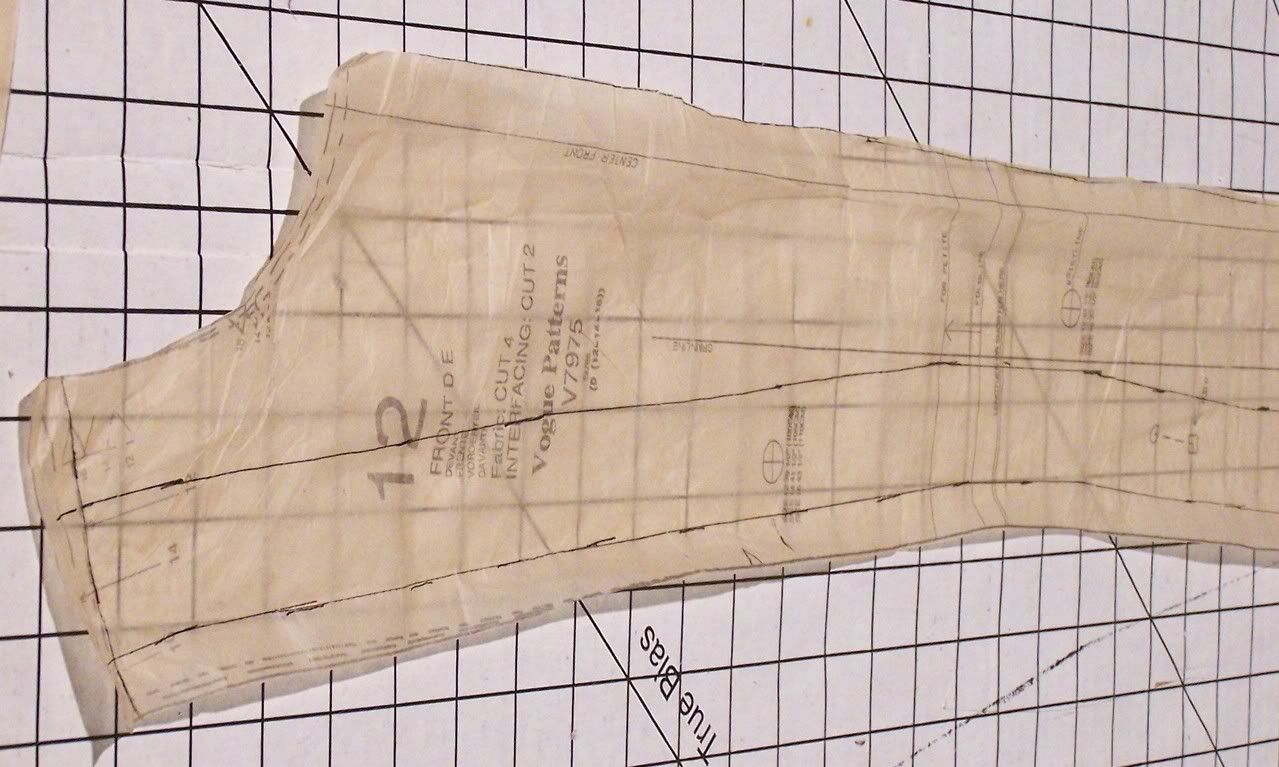 I unpinned the pieces and pressed it flat.
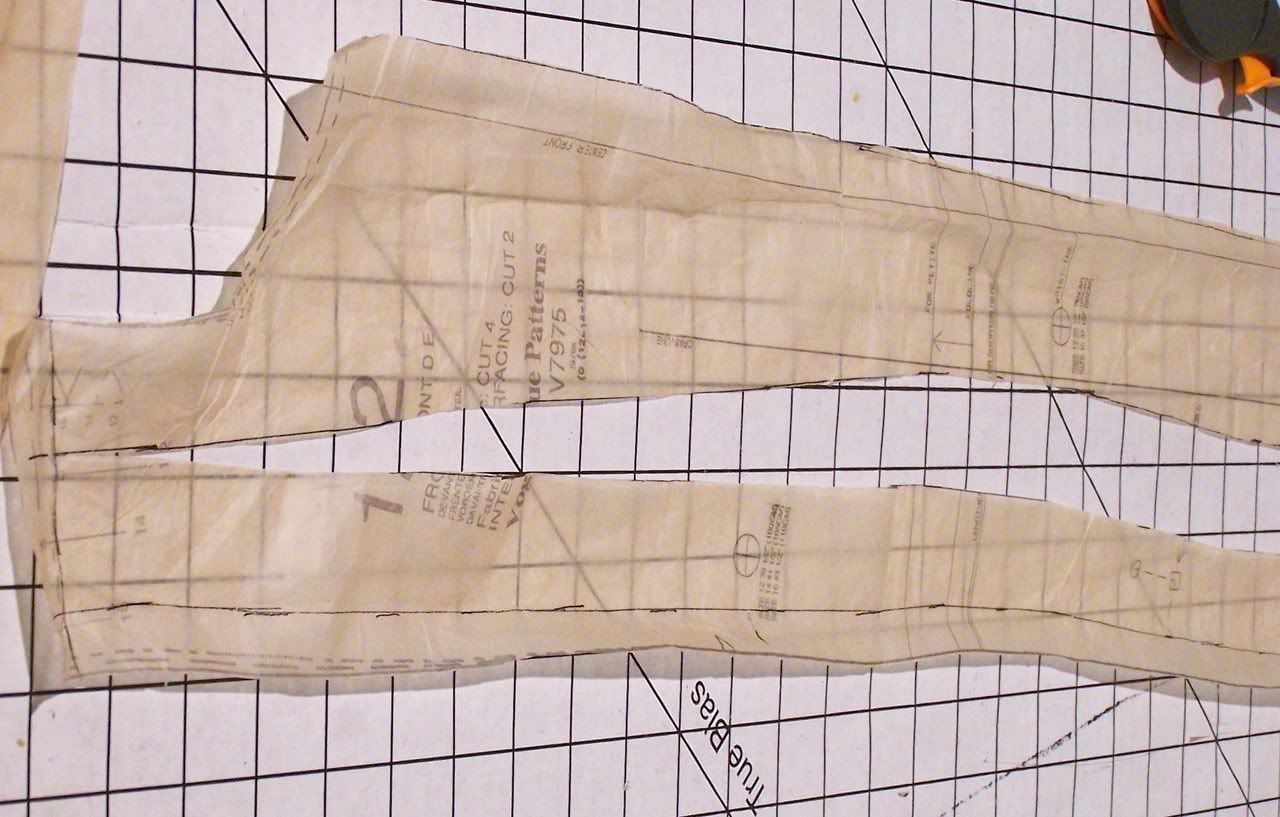 In order to move the seam over to the correct position, I cut pattern from the bottom up, 1 1/2" from the left edge, stopping 5/8" from the top at the shoulder seam. This creates a hinge.
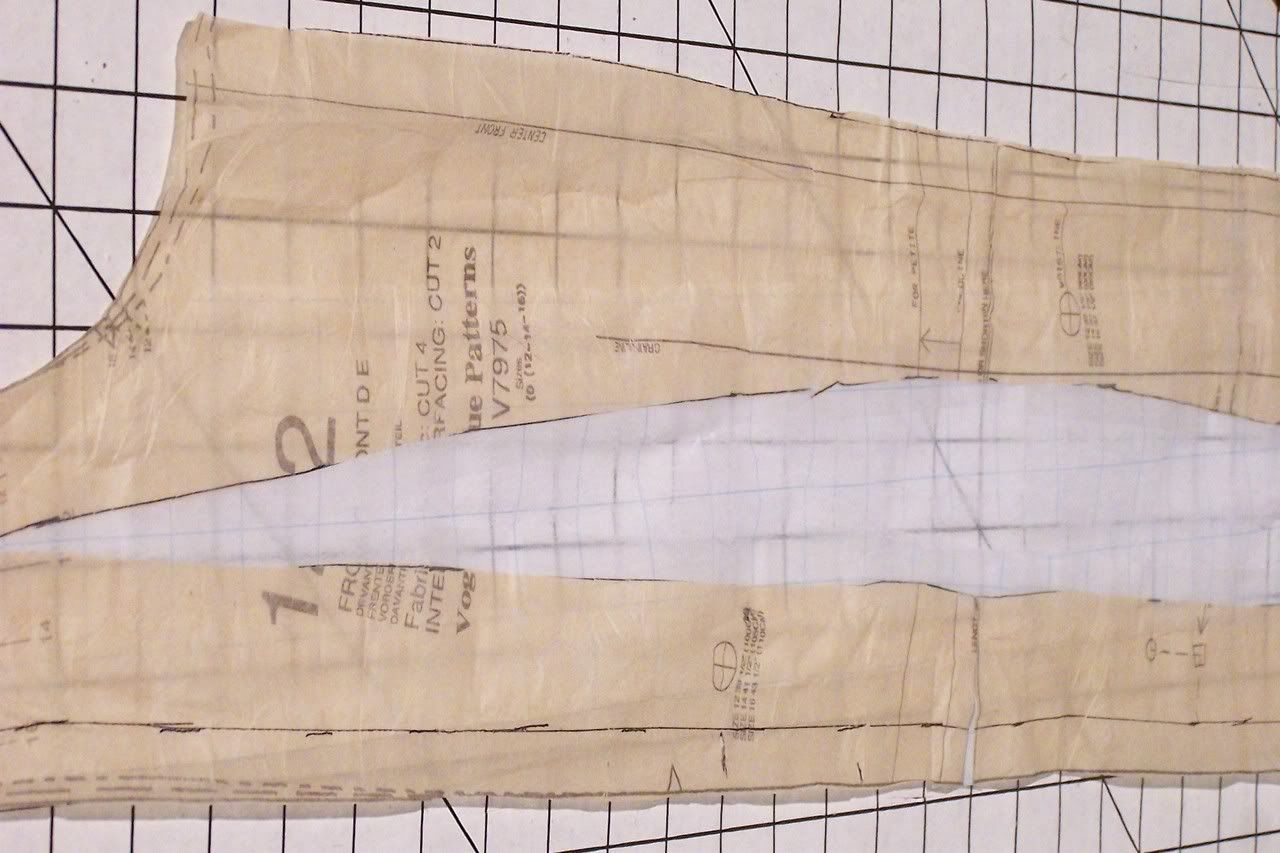 Half-way between the bust notches, cut horizontally up to, but not through the vertical cut edge. This spread will be minor. I then spread the pattern pieces 2"** and filled in with tracing paper.
**Cup size is determined by the difference between the high bust and the full bust:
1" = A
2" = B
3" = C
4" = D
5" = DD
The band size is your chest measurement below the bust.
I adjust for a FBA 1/2" per cup size.


1 comments
I just wanted to comment on your padding of the Dritz(?) dial dress form, which is what I have in a small. I cant justify $450 for a professional dress form in just 1 size so I, too, devised a way to pad my Dritz dial up form to really any client's measurements.
ReplyDeleteI created a sloper for the top and skirt of the dress form at it's highest setting. Then with cheap quilt batting I just start pining layers of batting onto the sloper. Once I think I have padded it enough, I top it off with my client's sloper and add more batting where needed and cutting away where needed.
Doing it this way, I can compensate for long or short waistlines. Of course, this only works on pants which have not had the inner leg seam sewn yet but it works great for the waist and hip fitting. I save so much time on fittings when I do this.